SolerPanel - Ecology & Solar Energy Next JS Template
Created : 28 November 2023
Last Update : 28 November 2023
By : React Template Builder
Email : designexpart260@gmail.com
Thank you for purchasing our Template. If you have any question, please feel free to contact
us.
Main File Structure
All the file are well organized, its so easy to work with the template.
1. Unzip the mainFile.
You will find 5 folder and 6 other files.
In the component folder there are the components of the template that are used all around and from here the components can be modifed according to your need.
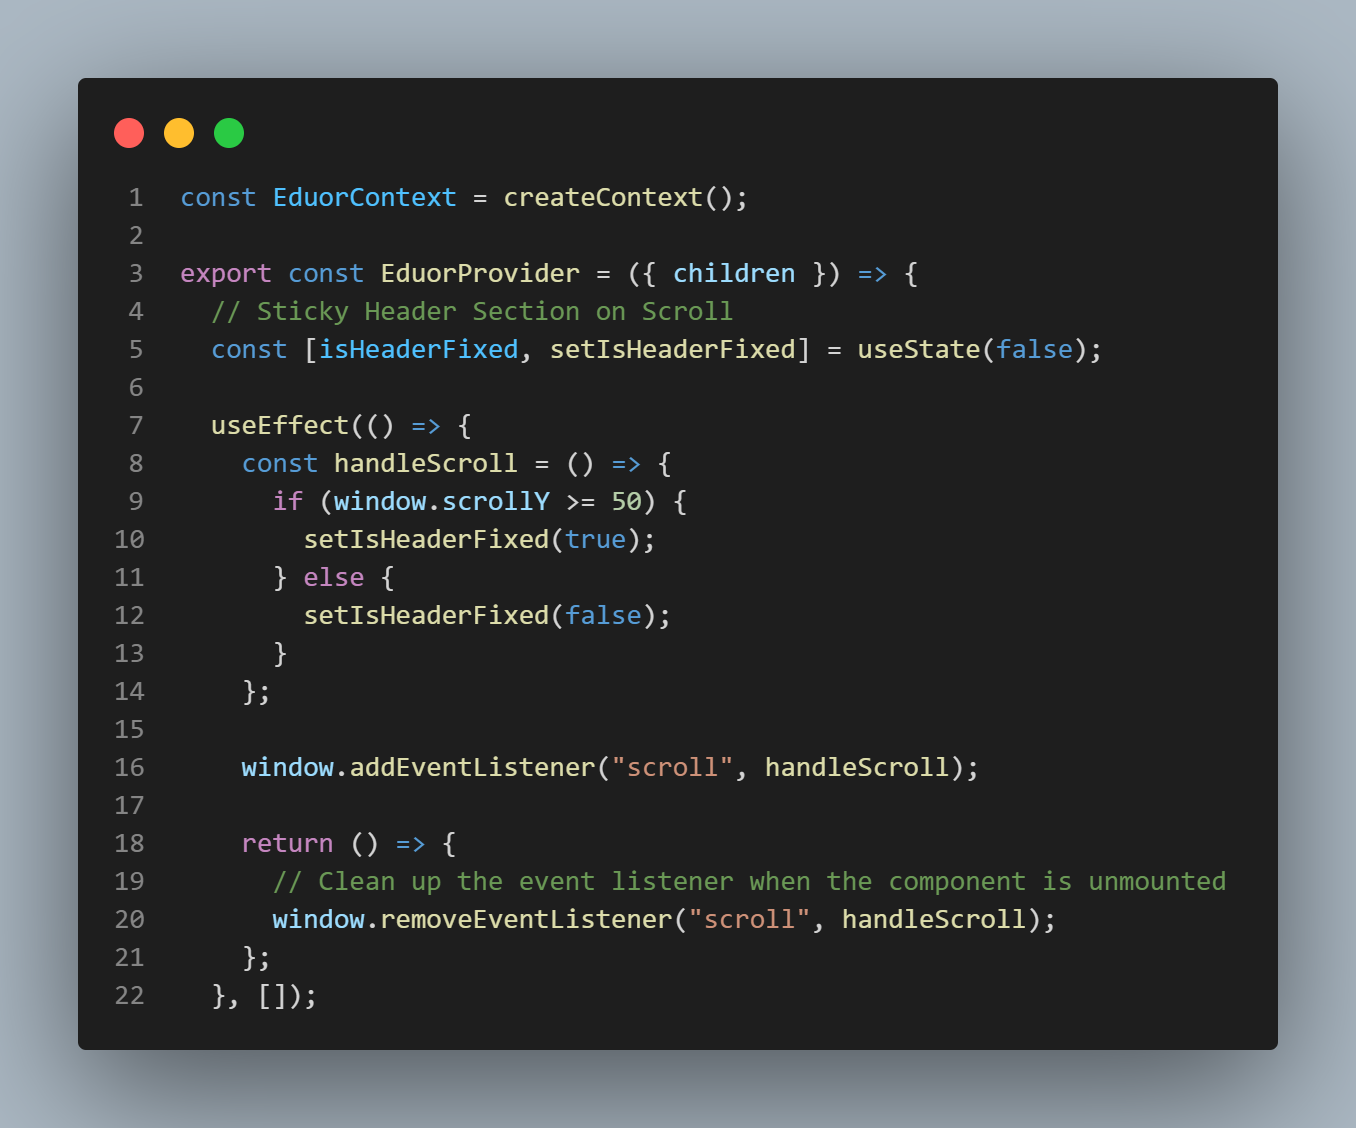
In the context folder there is the EduorContext.js file which contains all the logic for the template.
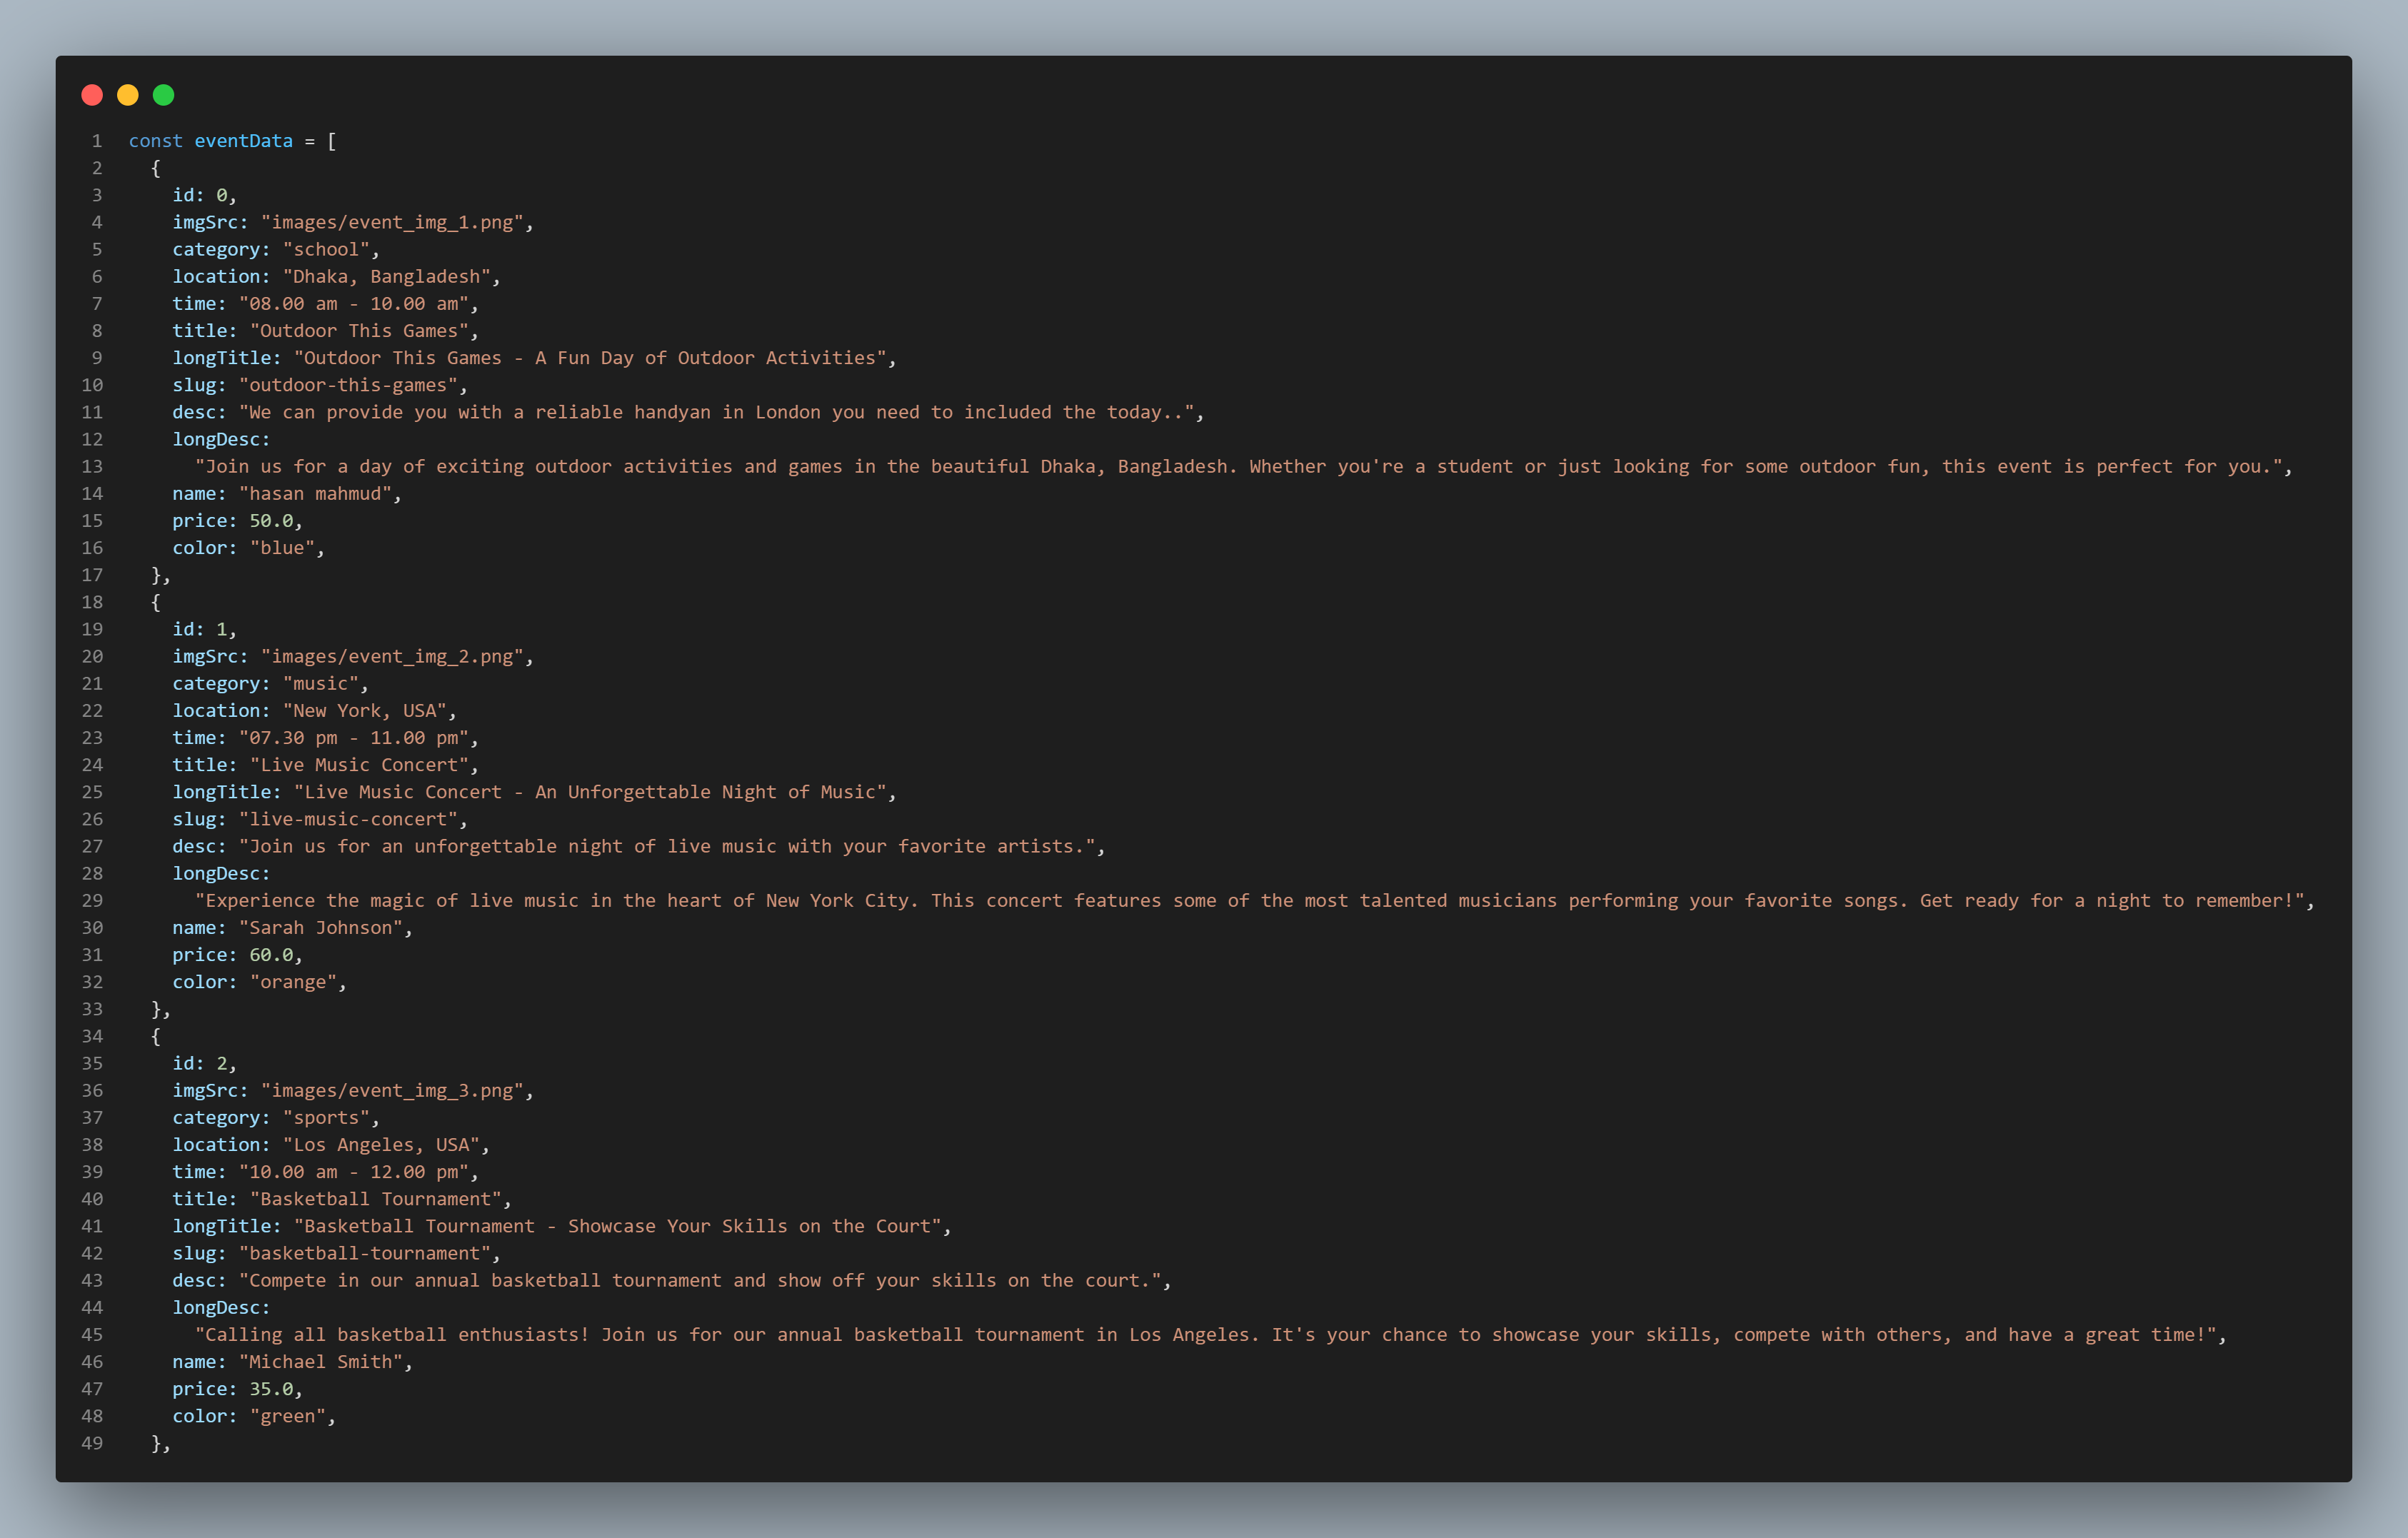
In the data folder there is Data.js file in which there is all mock data used in the template.
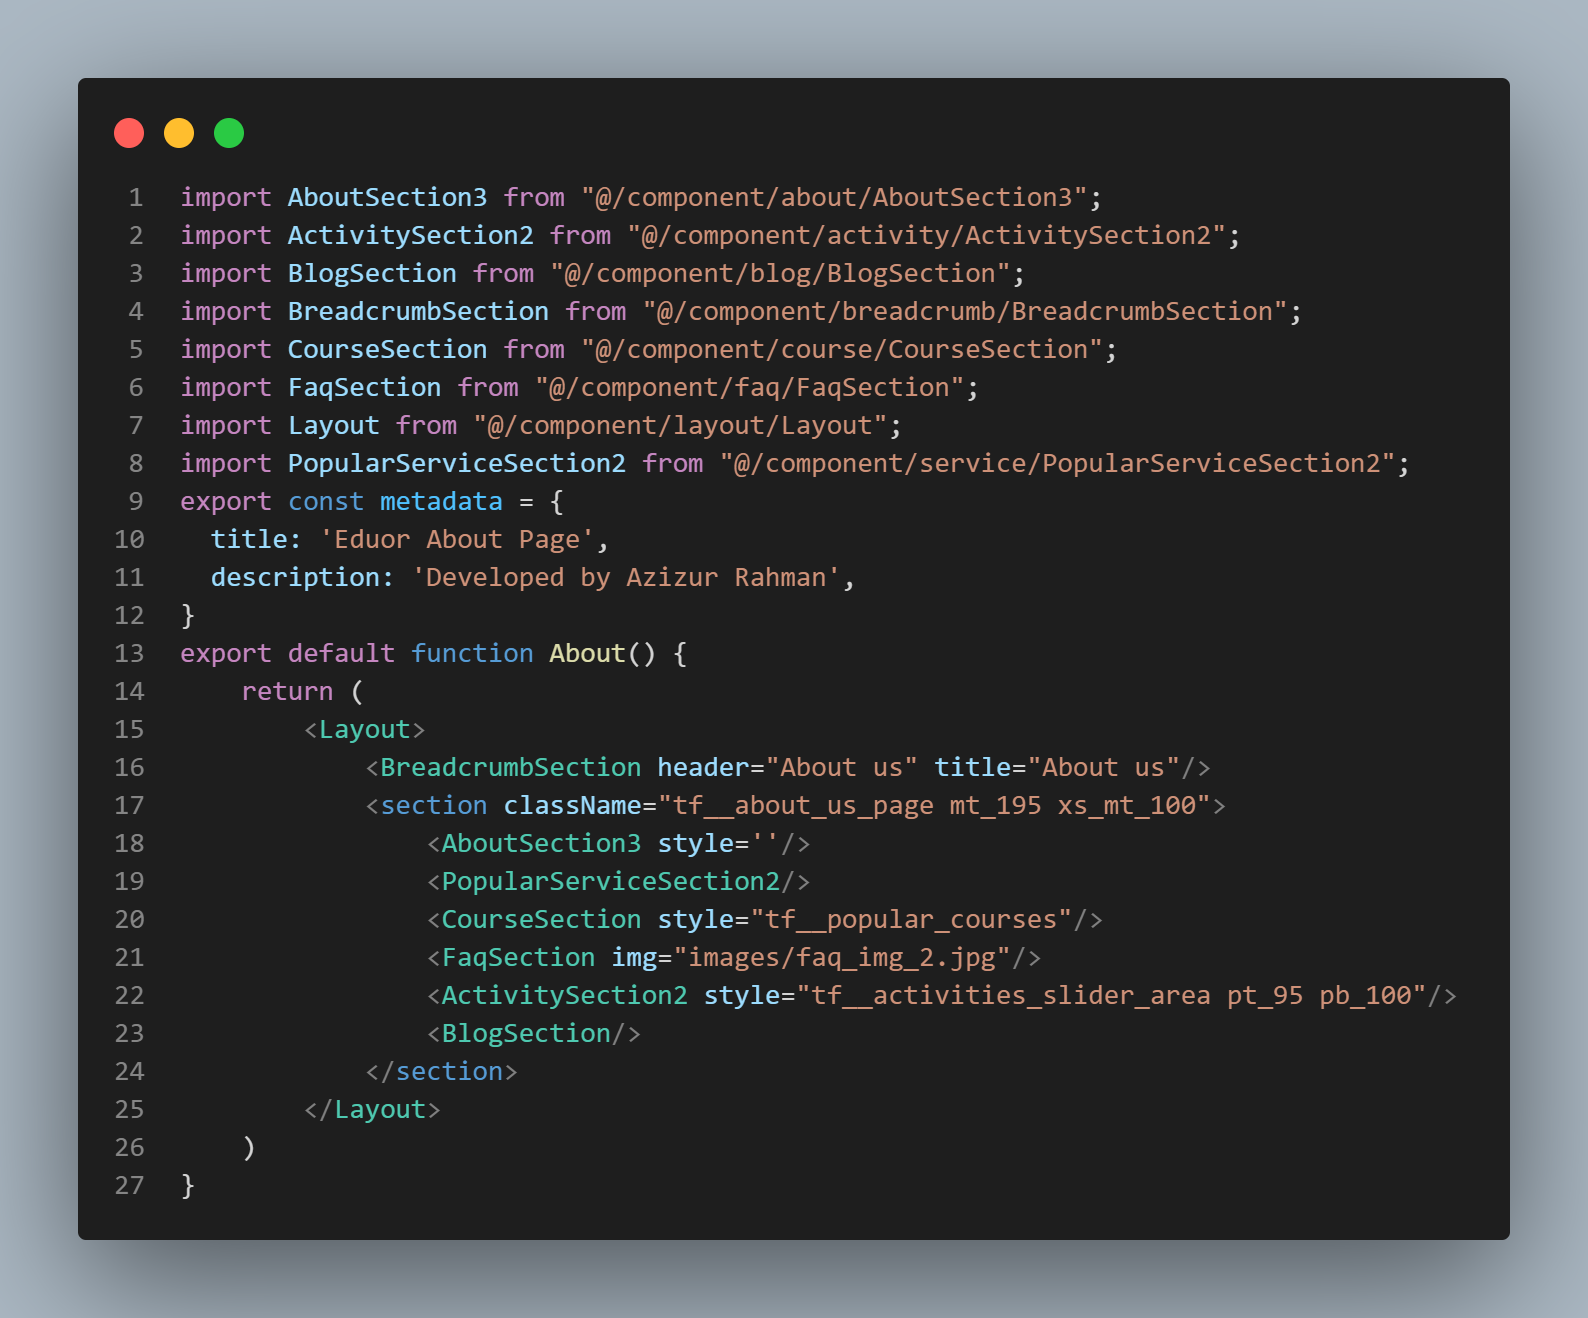
In the app folder there are all the pages for the template any folder created in this folder will become a page and take page.js as index of that directory.
In the public folder there are assets like css,font and images.
The rest of the files are .gitignore, jsconfig.json, next.config.js, package-lock.json, package.json and readme file.
To deploy Eduor to Vercel
You'll typically need to follow these general steps:
1. Create a Vercel Account:
If you don't have a Vercel account, you'll need to create one at https://vercel.com/signup.
2. If yoy have a github account push the main file in a repository and link the github to your vercel account.
3. Navigate to Vercel overview:
Click add new. Select project and if you have your github link you will see the repositories, select the repository of Eduor.
4. After importing the repository you will be redirected to deployment page here you can change the project name and many other.
5. After selecting a name for the project just click on deploy button. It will take some time and after it will be live and a url will be given which can modified later on.
6. If you are importing from github continous deployment is supported in Vercel. If you update the code in github it will auto update the live site.
For more deployment instruction you can follow this Linkof official document.
Steps to install and start in local server
1. Unzip the "main_file" and you can open commad prompt in the mainFile and use command "npm install" to install node modules.
2. After installing node modules you can type the command "npm run dev" to open the web app in local server.
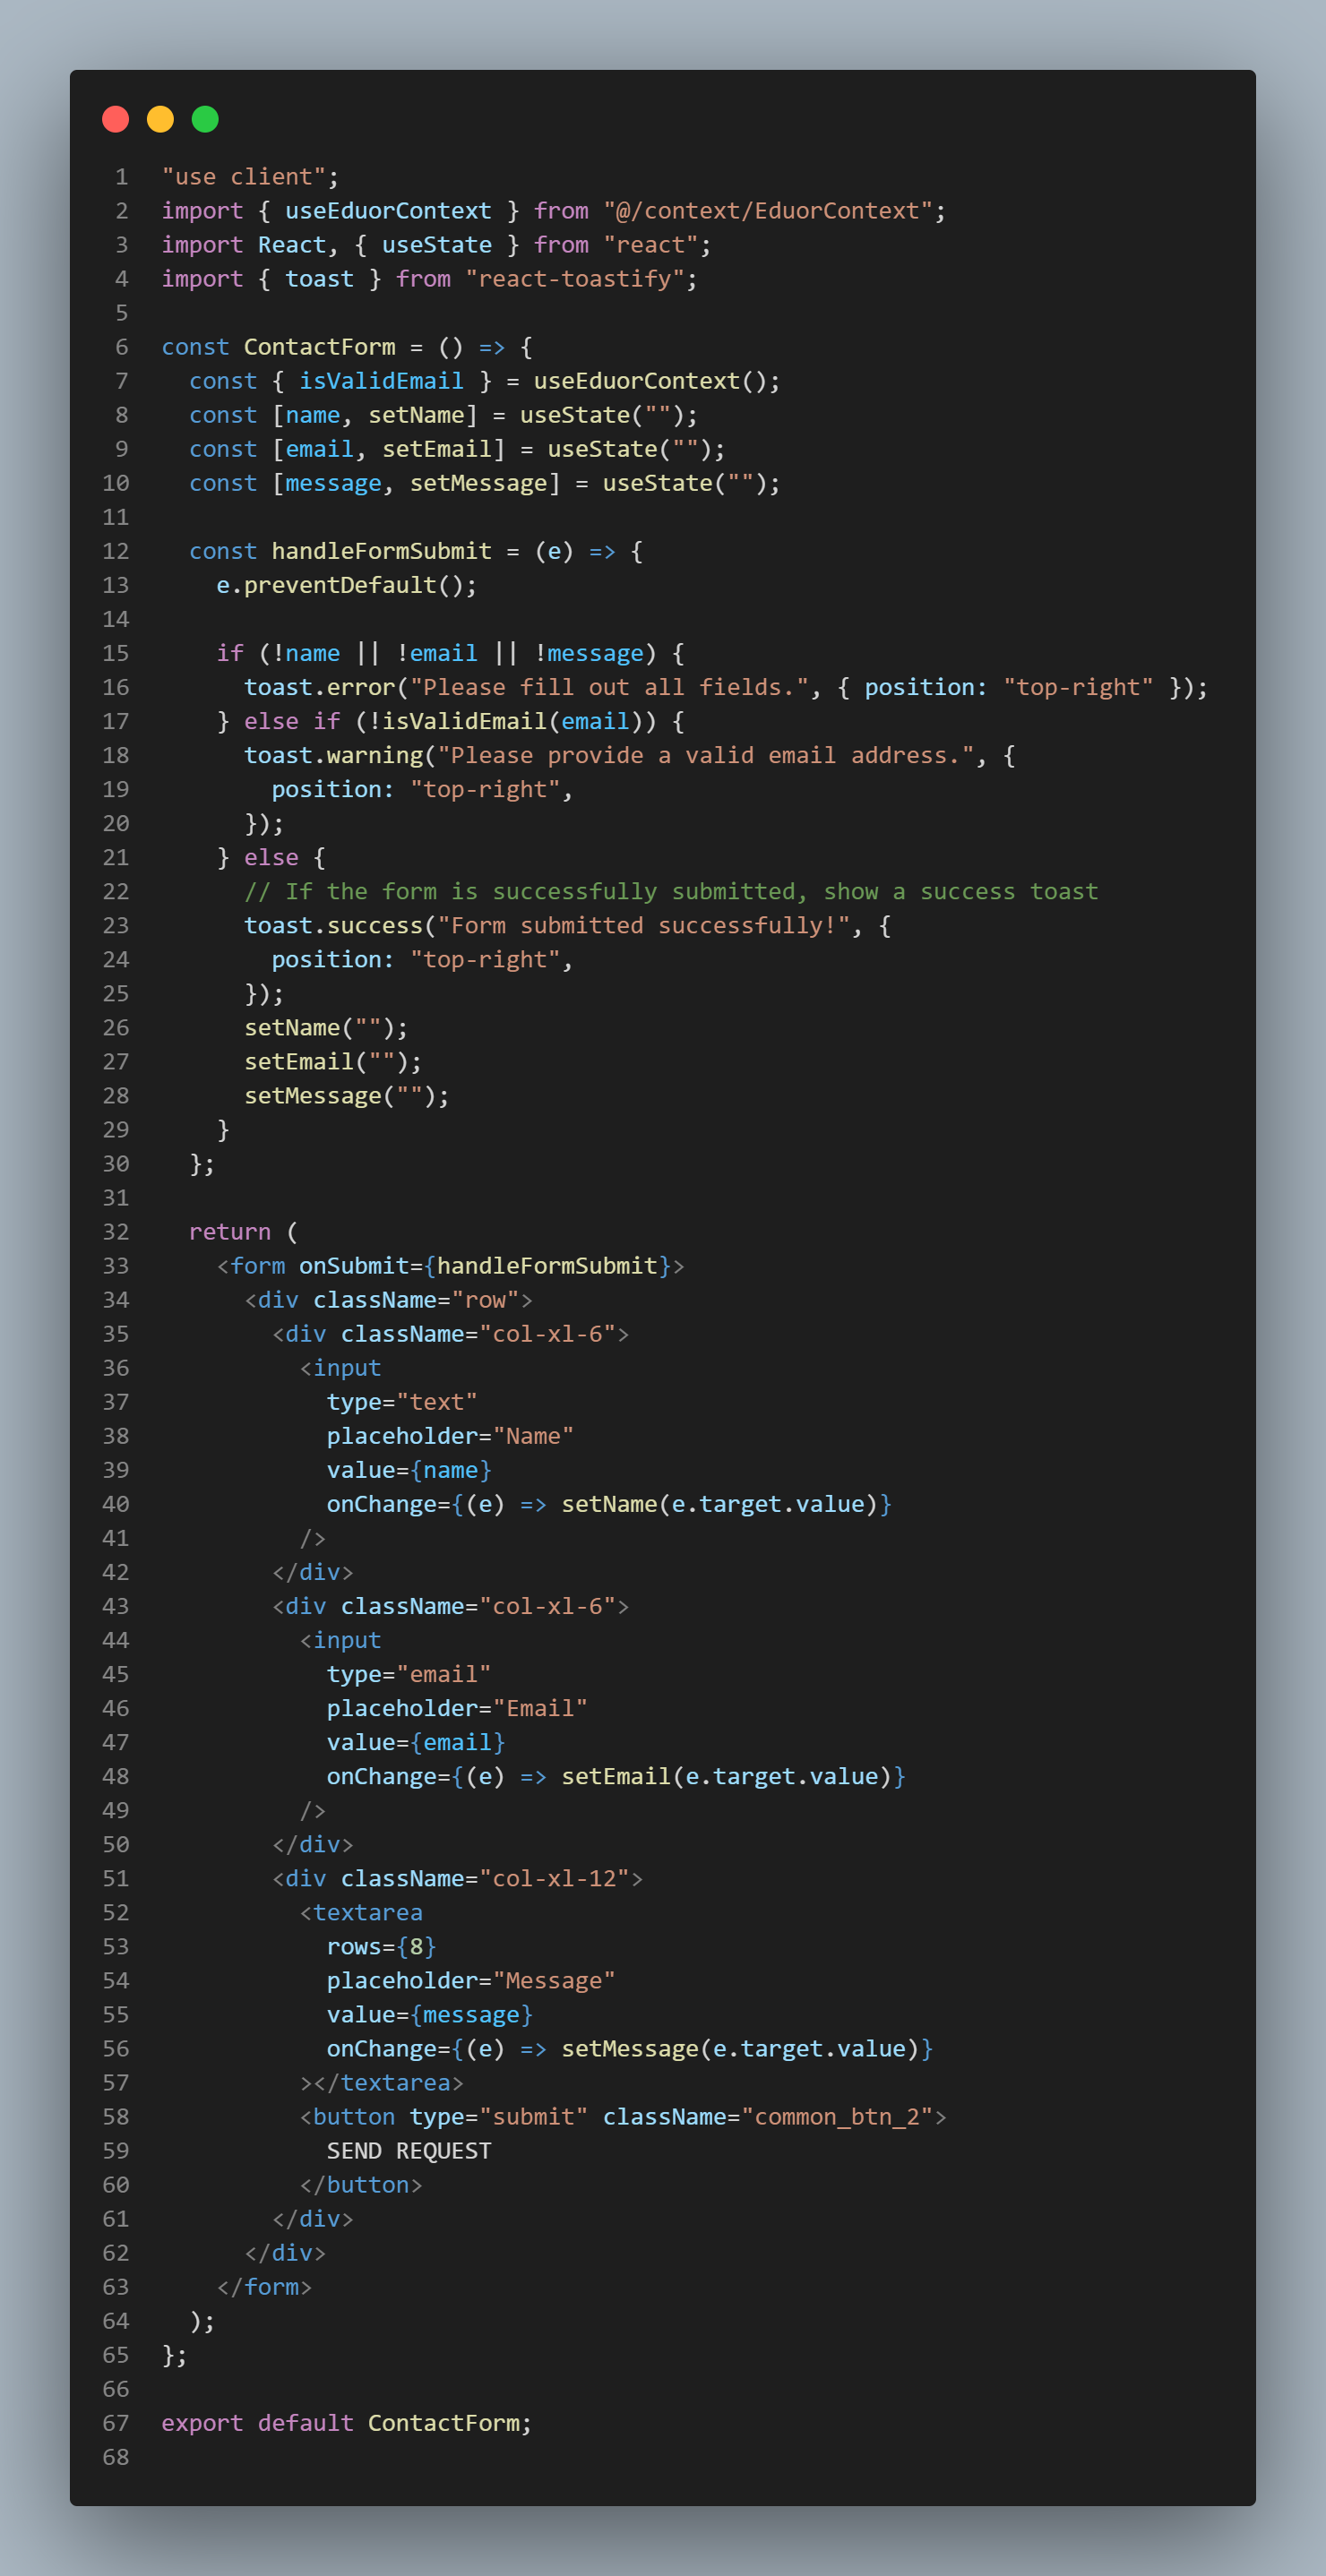
Components Structure
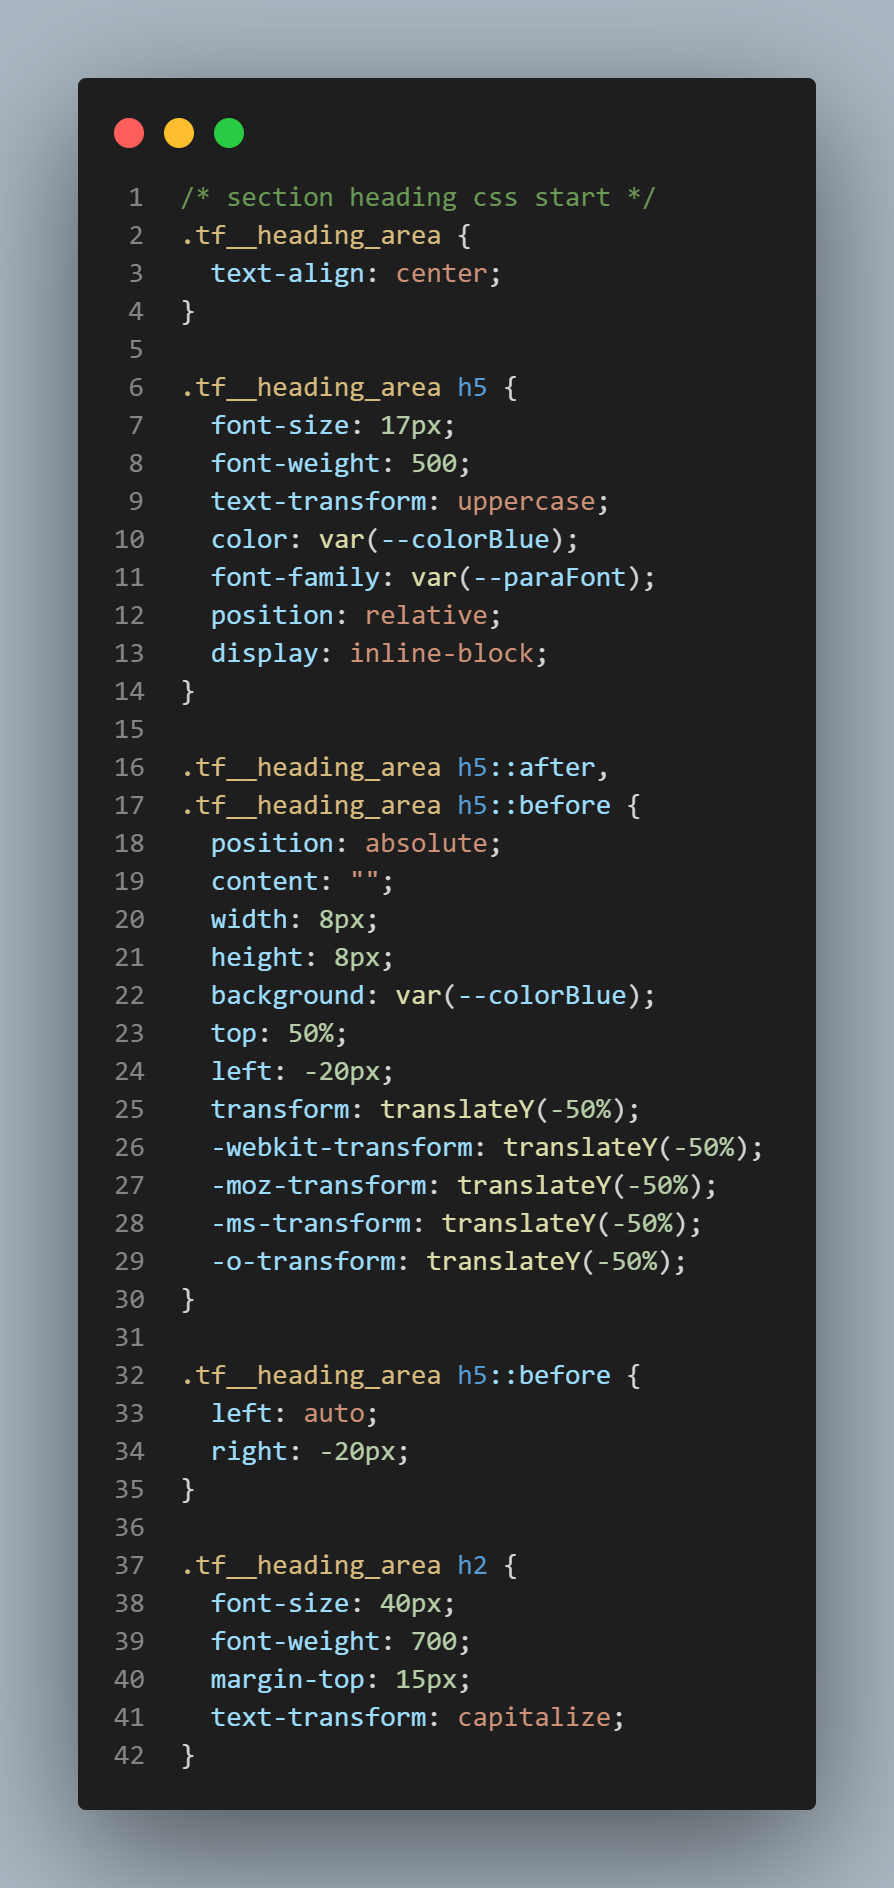
CSS Structure
Context API
Mock Data
App Directory Structure
Sources & Credits
- Fonts
- Montserrat
- Rubik
- Icon
- FontAwesome
- CSS Framework
- Bootstrap
- React Bootstrap
- Material UI
- React Libraries
- React Slick
- React Toastify
- react-countup
Supports
Thank you for reading the documentaion. If you still have any question or any problem, please contact with us. We will give you best support.
React Template Builder